Monday 13 June 2011

FINISHED VIDEO :)

I just uploaded my first ever video to youtube! Considering a year ago I used to hate technology I now feel quite proud of myself. Anyway... here it is, the final edit of my research video for my final degree project. Thanks again to all that helped produce it! You know who you are..


Sunday 12 June 2011

Self Promotional Material

Heres a few things I've been preparing, those of you have been following my blog from the beginning will know that I used to have a Grey and Yellow theme. That was also going to be the theme for my website, business cards etc etc. But, HGT whom I have been working collaboratively have got a Black and Yellow theme. So I thought it would be appropriate to change my color scheme. And considering how much turquoise seems to be cropping up in my work I thought that would be a good way to go. The original color would have been....

Business card example:


The new version: 


This color way matches my website and blog, I feel it is much fresher and lighter, I may even consider a grey paper and then have the text embossed with a contrasting finish. Following are some more examples of self promotional material...

Promotional Pack, CD Cover


Letter Heads


Logo


Postcards describing current body of work


The fused piece: 3 of 3

After a rather inspiring tutorial I decided to take on a third window, the effects I was getting with the breaking and re-forming were so nice that I wanted to make a piece that was just about that. So no leading, no grout, just glass. I'm really pleased with the results, but unfortunately it did not survive the first firing. The annealing time was not long enough and when it came out of the kiln it had cracked into three pieces :(

As embracing breakages is an underlying theme of my work this was not a problem, I added another layer of glass which provided even more new fascinating results. And with a much longer annealing time (three days!!) the work survived and was once again back into one piece. The new layer has trapped air in places and really adds to the effect of the glass, it looks almost like water.

Next time I will add this extra layer of glass straight away, as there were parts of the glass with oxides left on the surface. This meant that there was no reaction in the oxides, if I had put the glass on the first time these oxides would have been trapped, causing them to react more thus producing bubbles as apposed to lines of color. Here are the results...


The VERY scary job of linishing the edges! 


The finished piece


Saturday 11 June 2011

Display...

In an ideal world, this is how I would like to exhibit my work...


We have been so busy at college in the last two weeks transforming the workshops into gallery space. So my work will be displayed on standard white exhibition walls. The space is fantastic, the converted ceramics workshop has provided us with a huge, open space full of light, so this image gives me an idea of what my work will look like when on display. My photoshop skills are quite limited admittedly but I still prefer to take ages doing one simple drawing like this on the computer then ten drawings in my sketchbook. I feel I will benefit more from the computer work in the future. And I've spent the last decade of my life filling in sketchbooks, it's time for a change! 


A few of the rough sketches that helped me along the way...


Thursday 2 June 2011

The One That Started It All

The Grouted Piece: 2 of 3

This piece has been my three dimensional 'creative development'. By making it I have planned out exactly how I want to build and display my final body of work. It has also become a work of art in itself I think. 
This photo, courtesy of Mole Brown, has a bit of my cunning photoshop work, can you spot the difference? 


Through-out this project I have embraced mistakes. Taking advantage of any breakages or imperfections.  In this first experiment the glass broke at times I wasn't planning it to. But from this I discovered one of my favorite things about this work. The fuse lines, that create scaring in the glass which is something I'm going to explore more with future work.

The outer metal frame is also an element that I have been thinking about quite alot. I want the metal to be quite rough and raw, but also thought about. In this example I tried to force a natural look. Roughly buffing it with an angle grinder followed by a coat of lacquer. This has left it looking to shiny and black for my liking. Next time i plan to simply give it a light sanding by hand leaving any ground areas exposed. I do not want to blacken it with heat nor further rust it in anyway as it will do this in time. The fact that it will continue to change relates back to what inspired this project in the first place... Dilapidated buildings.       

Tuesday 31 May 2011

The Leaded peice

I am using this blog as a way to document the process of making my final body of work for my degree. The original plan was to build a stained glass window that was breaking open. After extensive video research and planning I came up with a proposal and get to work. Following are some images of the process.

This project has evolved dramatically, and what I am close to achieving are three window style art pieces. each exploring a style and technique all my own, each individual yet clearly part of the same body of work.

The Process: 1 of 3

This first piece will be the three dimensional one of the three. Using traditional stained glass techniques combined with what I hope are new and innovative ideas. 
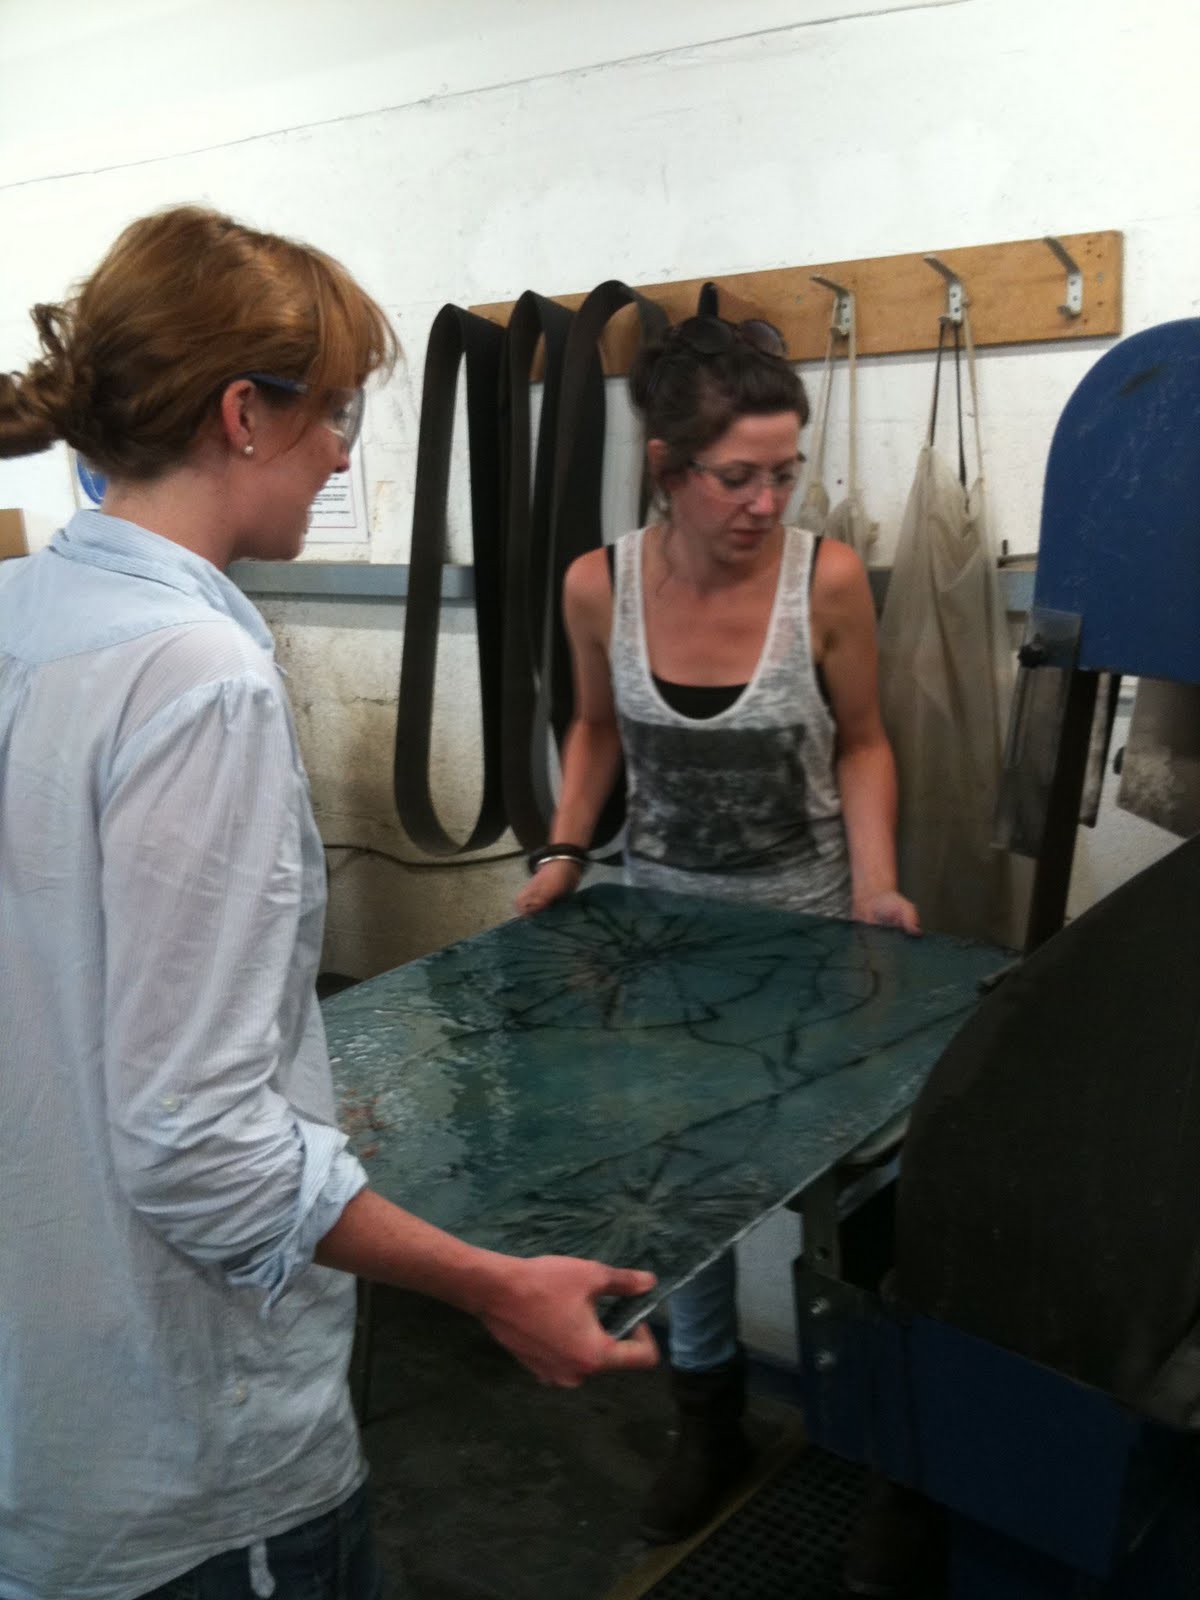
The treated glass


The first break


Getting the design


The imperative  numbering process


Leading


The final form beginning to take shape 


The picture below shows the difference a light sanding can make.


This frame made from 10mm round steel bar is the 
supporting structure for the glass. 


Putting it all together...